Setting Up System and Custom eGift Templates
An eGift template is the design that will appear on a printed gift card (gift cards ordered with the eGift delivery method). From the eGift Templates tab, you can activate or inactivate system templates, which are predefined templates provided by Meevo, and you can create, activate, or inactivate custom templates, which are templates you create.
Note: Gift cards with the Mail or in-store Pickup deliveries use different templates, which can be set up in Mail/Pick-up Templates.
System Templates
- Select the eGift Templates tab, and then select System Templates.

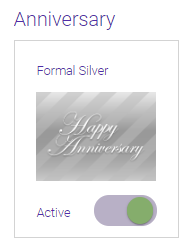
- By default, all templates are Active, which means they are available to clients in the eGift website. Above the template is the category (Anniversary in the example below) that the template will be grouped in on the eGift website. Inside the box is the template design name (Formal Silver below). Beneath the design is the switch that makes the template Active or Inactive.
- Select Edit if you need to make changes.
- Activate or inactive your desired templates.
- When finished, select Save. Templates are updated immediately in eGift.
Custom Templates
Note: For the best image quality, we recommend a 3:4 image ratio and 1024 x 768 pixels.
- Select the eGift Templates tab, and then select Custom Templates.

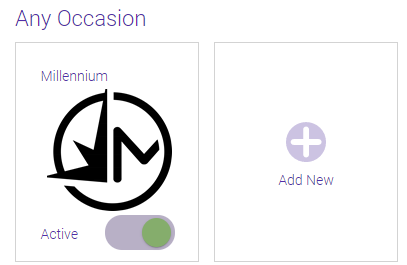
- Below each template category are any custom templates you already created for that category, along with a blank Add New placeholder.
Note: You can edit or delete existing custom templates by selecting Edit on the page, and then selecting Edit or Delete below the template.
- To add a new custom template, select Edit, and then select the Add New placeholder. The page below appears.

- Select the image placeholder to upload the template design. Be sure to adhere to the guidelines in the upload window.
- Category: Select the category that this template will appear under in the eGift website.
- Template Name: Name your template something descriptive and appropriate for a client-facing website.
- Template supports logo: When enabled, this adds the eGift Template Logo that you uploaded in the Main tab to the bottom-left corner of the gift card.
- This is the Active/Inactive switch that exposes the template to clients when it's Active.
- When finished creating the template, select Save. Don't forget to make the template active if you want it to be available on the eGift website.