Setting Up Your Email Marketing Account
These setup steps are for all businesses who are enabling Email Marketing in Meevo for the first time.
Important: If you already have an Emma account
If your business already has an Emma account in use, reach out to your Meevo CSM before enabling the integration. You'll work in tandem with your Meevo CSM to get the accounts linked.
If your business has an Emma account but you enabled Email Marketing before speaking with your CSM, don't worry! Reach out to your CSM as soon as possible to get those accounts linked. We don't recommend using Email Marketing in Meevo until it's linked to your pre-existing Emma account.
Note for multi-locations: By default, Email Marketing creates one account to manage all locations. See Multi-Location Sync Options for details on how Email Marketing can create an account for each location.
If you do not have an Emma account
If you don't already have an Emma account, you can enable the integration at any time. We automatically create an account for you and link Meevo to that new Email Marketing account.
To set up your Email Marketing account
To set up your account, all you have to do is finish the Email Marketing account creation process which can be kicked off via the "Welcome" email. We'll send the email to the Email Address in Meevo Business Information. If that field is blank, we send the email to the address you registered with Millennium Systems International.
Note: The "Setting up your new email marketing account" email account invitation is valid for 15 days. We highly recommend completing these steps as soon as the email comes in. After 15 days, you will have to contact MSI Business Support to receive a new "Setting up your new email marketing account" email.
- Shortly after enabling the integration, you should have received a Setting up your new email marketing account email. In that email is the ACCESS YOUR NEW ACCOUNT link. Select that link.

- Finish setting up your account in Email Marketing by filling out the fields. The Email field is already filled out for you.

- Select Continue to account to complete account creation. If this is your first login, continue with the steps below to complete your account information.
Logging into Email Marketing for the first time
- If this is your first login, continue with the steps below to complete your account information.
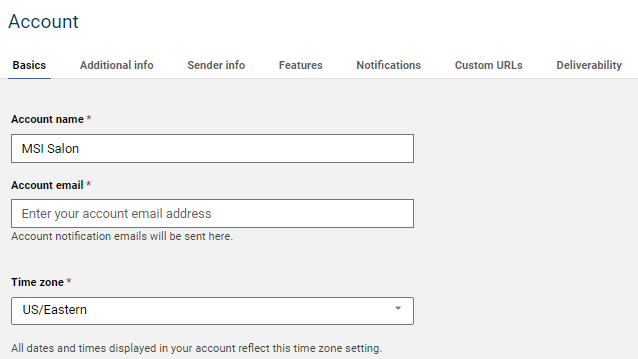
- Select your user name in the upper-right corner, and then select Account to verify your Account Basics:
- Enter your Account email. This is where your Email Marketing account notifications, such as a Response Summary Email, will be sent.
Note: This is not the email that clients will see when you send out communications. The email that clients see from your communications is the Sender Email, described in Step 5 below.
- Verify the Account name and Time zone.
- Select Save when finished.
- Select Additional Info and verify that your business name, address, and phone number are entered correctly.
- Select Sender info and verify your details. These fields are required to send emails via Email Marketing.
The Sender email is the email address your clients will see when you send out communications. Make sure to review Sender Email Best Practices and How to Change Your From Sender Details for recommendations regarding your Sender email, as this email address can have an impact on your deliverability.

- Select Save when finished.